Creating your own dog harness can be a fun and rewarding DIY project. Not only does it allow you to tailor the harness to your dog’s specific size and needs, but it also adds a personal touch. In this article, we’ll walk through the essential materials you’ll need to make a sturdy and comfortable harness for your furry friend.
Choosing the Right Fabric
First and foremost, select the right fabric. Durability and comfort are key. Nylon webbing is a popular choice due to its strength and lightweight nature. Alternatively, you can opt for canvas or heavy-duty cotton if you’re looking for a more natural material. The fabric should be gentle against your dog’s skin to avoid any irritation.
Hardware Essentials
You’ll need a few hardware items:
Buckles: These are crucial for adjustability and ease of use. A side-release buckle is a good option for quick release and attachment.
D-rings: These are used for attaching the leash. Ensure they are made of sturdy metal.
Slide adjusters: These help in adjusting the harness’s length and ensuring a snug fit.
Tools and Miscellaneous Items
Measuring Tape: Essential for taking accurate measurements of your dog.
Scissors: For cutting fabric and webbing.
Sewing Machine or Needle and Thread: For stitching the harness together. If you’re not comfortable with sewing, self-adhesive Velcro can be a temporary alternative.
Fabric Glue: Optional, for reinforcing stitched areas or attaching decorative elements.
Decorative Elements
Ribbons or Fabric Paint: To personalize the harness with designs or patterns.
Reflective Tape: For safety during night walks.
Steps to Make Your DIY Dog Harness
Measure Your Dog: Accurately measure your dog’s chest and neck.
Cut the Material: Based on the measurements, cut the fabric or webbing.
Assemble the Harness: Sew the fabric or webbing, attaching the buckles, D-rings, and adjusters.
Test for Fit and Comfort: Adjust the harness on your dog to ensure it fits comfortably.
Safety Tips
Always ensure the harness is not too tight or loose on your dog. Regularly check the harness for signs of wear and tear, and replace any damaged parts immediately.
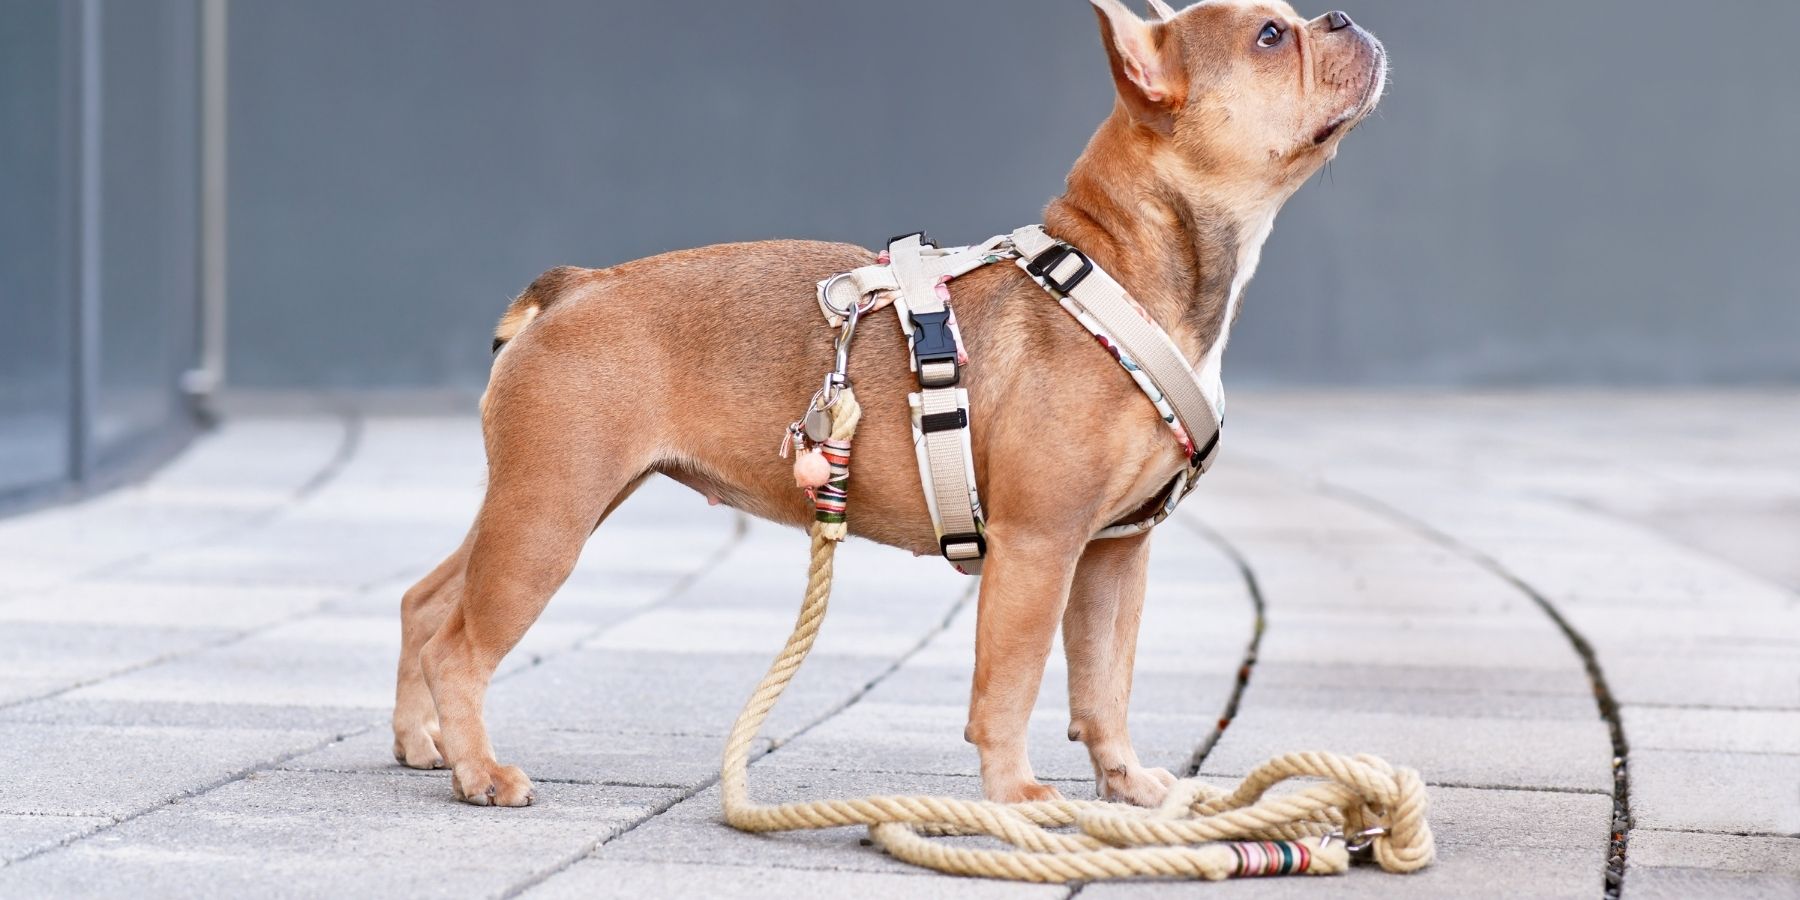
Crafting a Rope Dog Harness
Making a dog harness out of rope is a practical and sturdy option, especially for strong or larger dogs.
Start by choosing a strong, durable rope like nylon or paracord, which is both resilient and gentle on your dog’s body.
Measure your dog’s chest and neck to determine the length of rope needed. Begin by creating a loop that fits comfortably around your dog’s neck, then bring the rope down to the chest, forming another loop around the widest part of the chest.
Use secure knots to ensure the loops stay in place but are not too tight. Cross the rope over your dog’s back and under its belly, securing it with another knot.
Ensure the rope harness allows for comfortable movement and doesn’t rub against the dog’s skin.
Finish by attaching a metal D-ring to the back section of the harness for leash attachment.
This DIY rope harness combines simplicity, comfort, and durability, making it a great homemade option for your canine companion.
Remember to regularly check the harness for signs of wear and adjust the fit as needed for your dog’s comfort and safety.